
The Ultimate DIY Guide: How to Install Flexifloor Flooring Like a Pro
Jan 23, 2025Installing flooring doesn’t have to be complicated or expensive. Flexifloor stands out with its innovative clipless system, making it the easiest option for DIY installation. Durable and stylish, Flexifloor is the ultimate solution for achieving stunning, professional results on your own. Follow these steps to create a long-lasting floor, and ensure this guide matches the specific flooring type you’re working with!
Blog content:
Installing flooring doesn’t have to be complicated or expensive. Flexifloor stands out with its innovative clipless system, making it the easiest option for DIY installation. Durable and stylish, Flexifloor is the ultimate solution for achieving stunning, professional results on your own. Follow these steps to create a long-lasting floor, and ensure this guide matches the specific flooring type you’re working with!
Blog content:
Step 1: Remove Baseboards
Start by carefully removing the baseboards around your room, using a pry bar or similar tool to gently detach them without causing damage. This step allows you to install your flooring flush against the wall for a seamless look. Later, when you reinstall new baseboards, they’ll cover the edges and provide a perfect, clean finish.

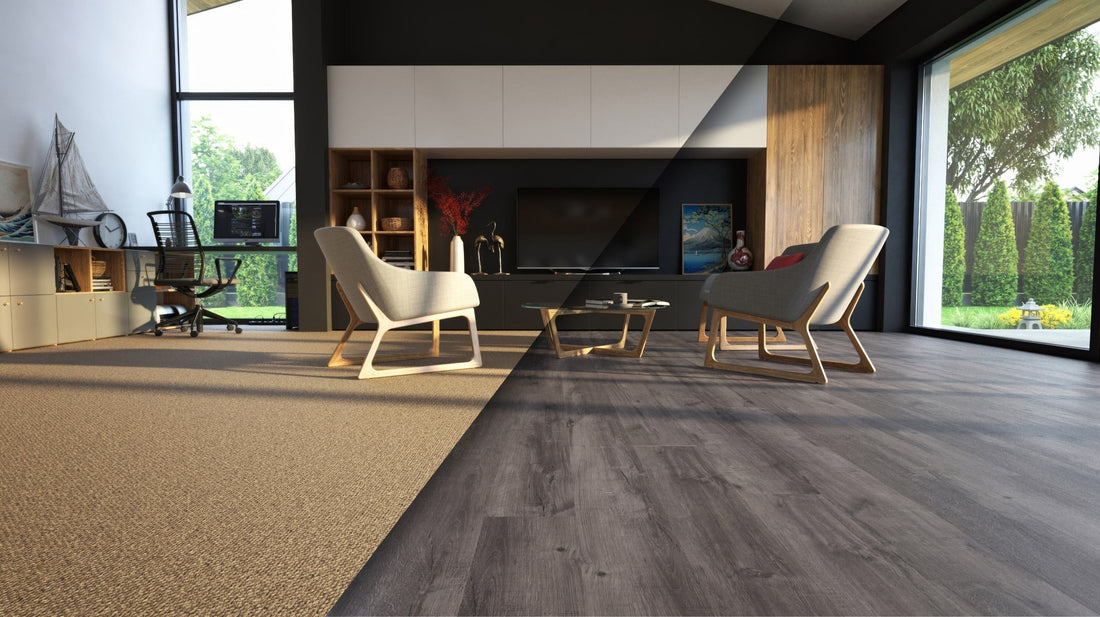
Step 2: Prepare the Surface
If desired, Flexifloor can be installed directly over most existing flooring, making it a flexible solution for temporary or permanent use. However, if your current surface is carpet, it will need to be removed before installation. Whether you remove or keep the existing flooring underneath, be sure to clean the area thoroughly, removing any debris or dust, to ensure a smooth and hassle-free process.

Step 3: Plan Your Starting Point
Find the corner of the longest wall in your room to start your first plank or tile. Lay the flooring in the direction of the longest wall for a seamless, professional look.

Step 4: Lay Down the Planks or Tiles
Place your first plank or tile tight against the wall, ensuring it’s straight. Fit the next piece closely against the first, aligning edges perfectly for a flush fitment. Flexifloor’s anti-slip technology and weighted design keep your flooring secure without the need for clips or glue.
When you reach the opposite wall, encounter an irregular shape, or need to adjust for obstacles, cut the planks or tiles as needed using a heavy-duty utility knife or a flooring base cutter to achieve clean edges. Use the remaining cut sections to start your next row, minimizing waste and ensuring a uniform appearance.
For a more natural and visually appealing look, avoid aligning all the planks exactly the same in every row. Stagger the starting points for each row to create an irregular, non-repetitive design. This creates a dynamic and professional finish, but the pattern can be adjusted to suit your personal taste.
While glue isn’t necessary in most cases, you may want to apply a small amount to planks or tiles near open edges (not against a wall) for added stability. Some may also choose to glue the perimeter of the room, but this step is optional.

Step 5: Reinstall the Baseboards
Once all your planks or tiles are securely installed, reattach your baseboards to complete the look. This final step not only provides a polished, professional finish but also conceals any minor imperfections along the room's edges, ensuring a clean and seamless appearance.

Step 6: Enjoy Your New Space!
You’ve done it, your new floor is complete and we’d love to see it! Send us a picture and share your experience. We may even feature your project to inspire others. Flexifloor’s stylish planks and tiles combine the elegance of natural wood and stone with the durability and convenience of modern materials. Your space is now refreshed and ready to impress!

Why Flexifloor is the Best DIY Flooring Solution
Flexifloor isn’t just another flooring option, it’s a game-changer for DIY enthusiasts. Its clipless installation saves you money on labor costs while offering a stunning finish. Unlike traditional flooring, Flexifloor is waterproof, stain-resistant, and anti-slip, making it ideal for any room, including high-moisture areas like kitchens and bathrooms.
Ready to transform your space? Check out our wide selection of planks and tiles in various colors and styles, and order your perfect flooring solution today!


